The fourth round in Project Food Blog challenged us to "...use photography to create a step-by-step, instructional photo tutorial...". Once again this challenge was wide open -- I could do anything, just making sure I took pictures along the way. But what to take pictures of? How to make and frost cupcakes? How to babysit a risotto? I just wasn't really feeling any of it. And then I remembered... what's the one thing I always wish I could make at home, but don't have the equipment for? Ice cream!
All summer long I saw post after post of delicious and unique ice cream combinations pop up on different blogs. Rather than bookmarking them for later, I simply scrolled past, mourning the fact that I was unable to try out these delectable looking treats. I was bummed. I've never had homemade ice cream, and it appeared I never would. Until I decided to say, "I wonder..." and Google: How to make ice cream without a machine. Bingo!
David Lebovitz is pretty much considered the know-all-be-all when it comes to ice cream, and lucky for me he has a tutorial on how to make ice cream without an ice cream machine. It really was possible. I was starting to get excited.
First things first. I hopped on over to the library to pick up his ice cream bible, The Perfect Scoop and decide from there what kind of ice cream I was going to make. Okay, well, that was an easy choice -- chocolate ice cream with fudge ripple. After a quick trip to the grocery I was ready to go. Are you ready for this? Because I am!
How to Make Ice Cream Without A Machine
Now, there are two styles of ice cream out there - French-style or Philadelphia-style. The French-style is a custard-based ice cream, and is the type recommended for this method (which is what I decided to do).
Gather your ingredients
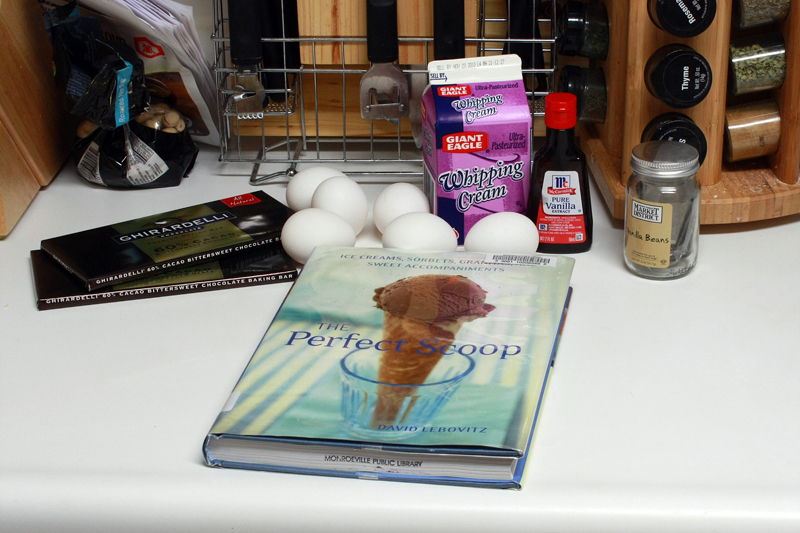
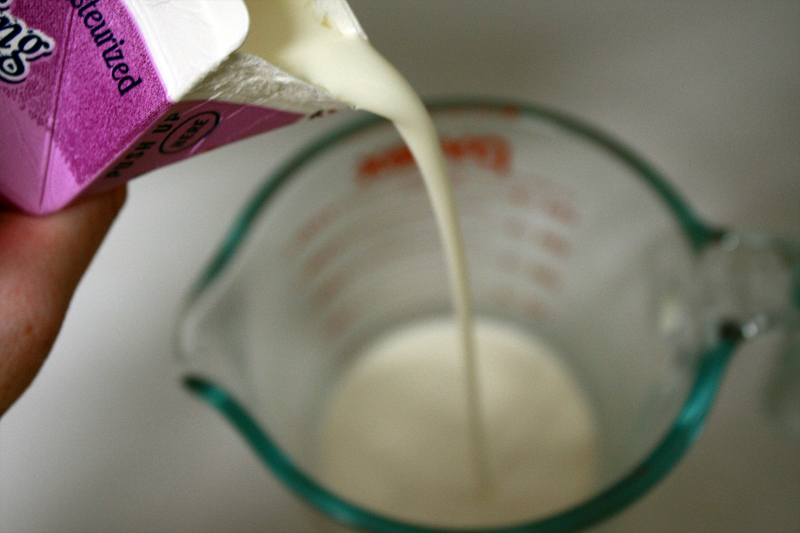
2 cups heavy cream (Lebovitz also says you can interchange heavy cream with whipping cream, which is what I did here)
3 tablespoons unsweetened Dutch-process cocoa
5 ounces bittersweet or semisweet chocolate, chopped
1 cup whole milk (no substitutions!)
3/4 cup sugar
Pinch of salt
5 large egg yolks
1/2 teaspoon vanilla extract
Let's get a few things organized and ready to go before starting:
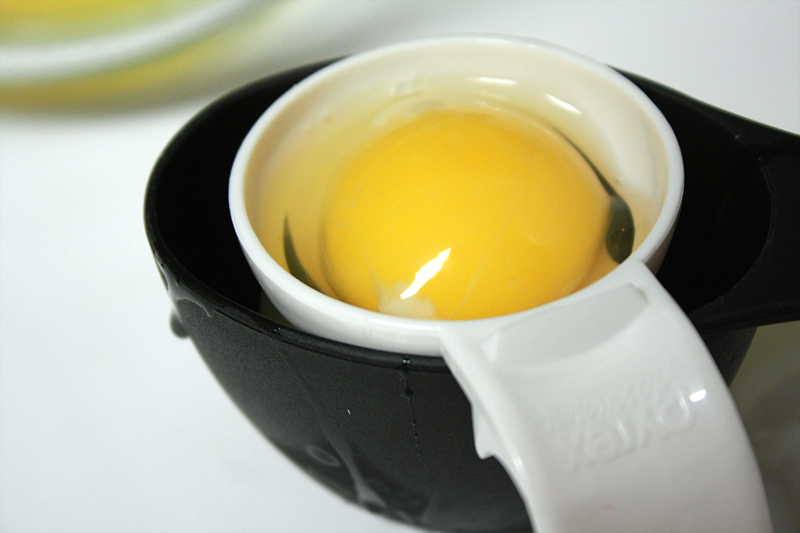
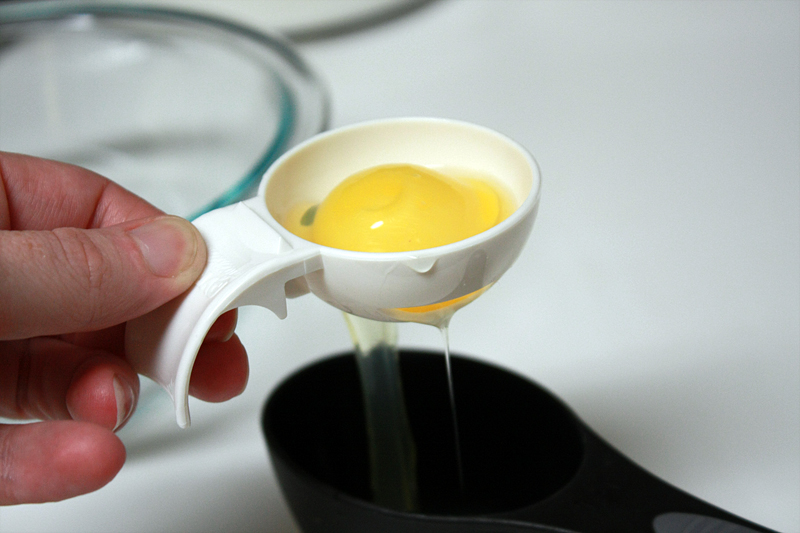
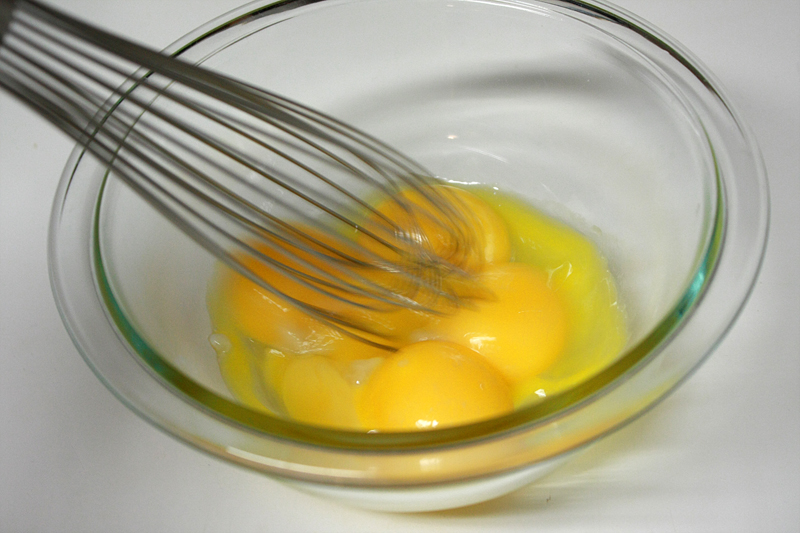
We need 5 egg yolks. I like to use my fancy-schmancy egg separator, mostly because I tend to break the yolks when going back and forth between the two shell halves, or drop the yolk when just using my hand.
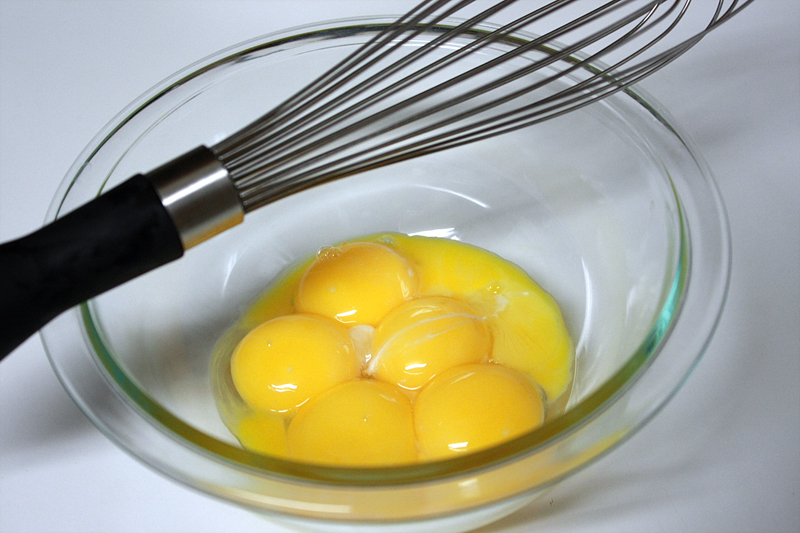
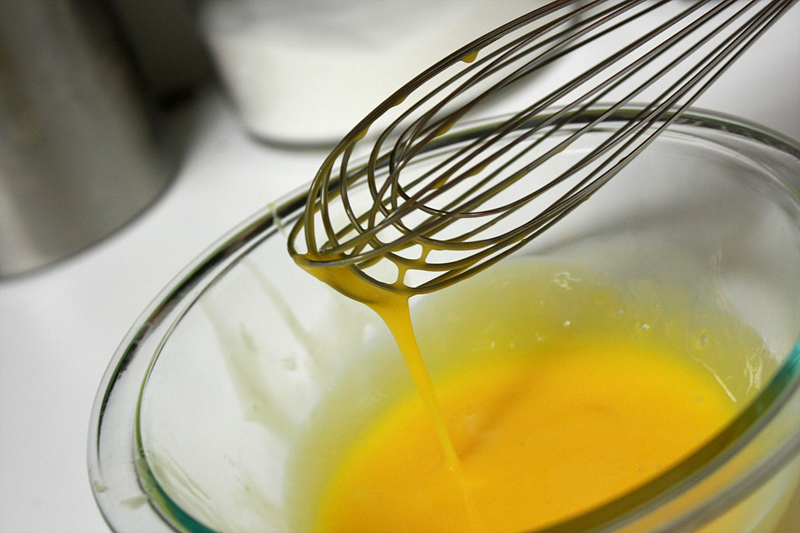
While we're at it, might as well whisk those babies up.
Mmmm chocolate. Ah! Focus! Focus!
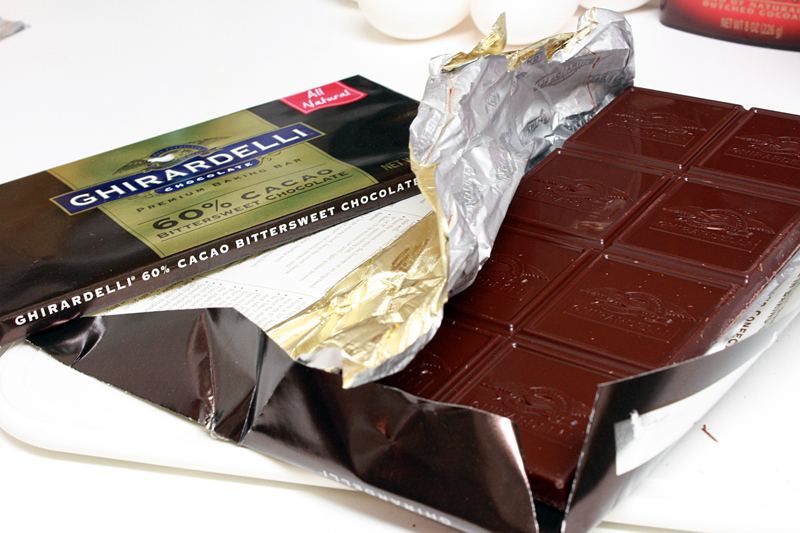
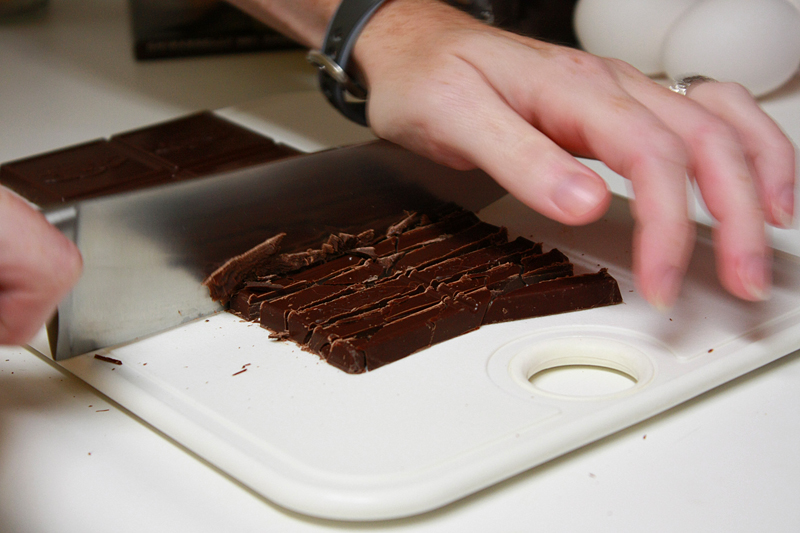
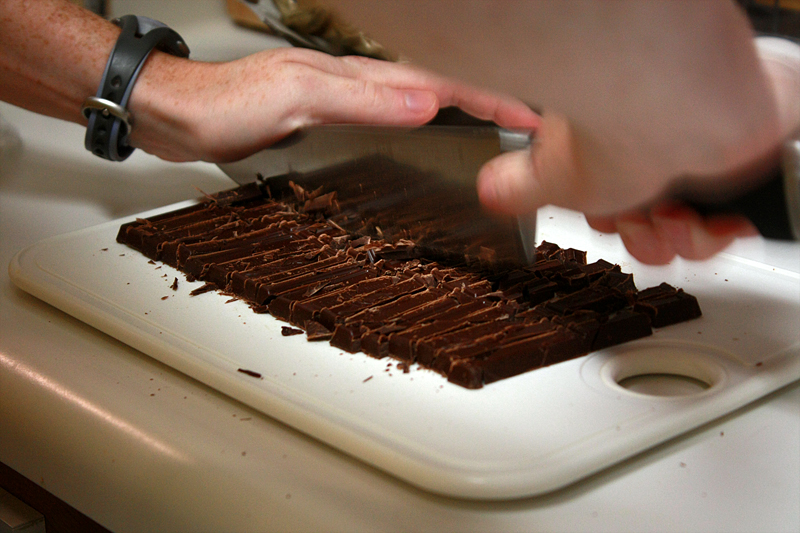
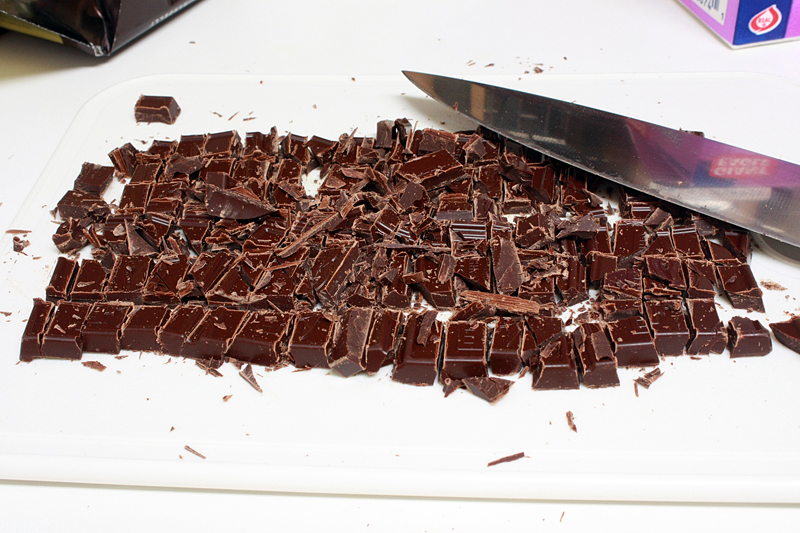
Chop that lovely bar of goodness into small pieces. We're going for about 1/4" pieces here.
Alright, I think we're ready to start.
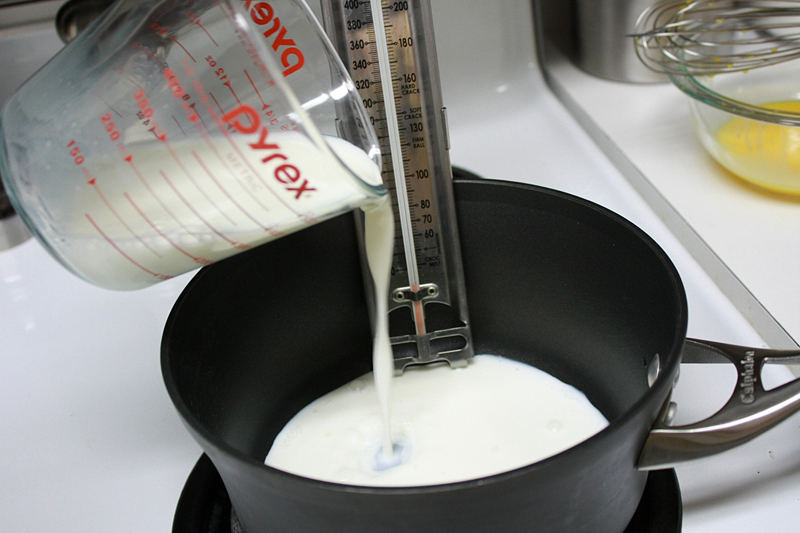
We need a cup of cream and the cocoa in a medium saucepan. Stat.
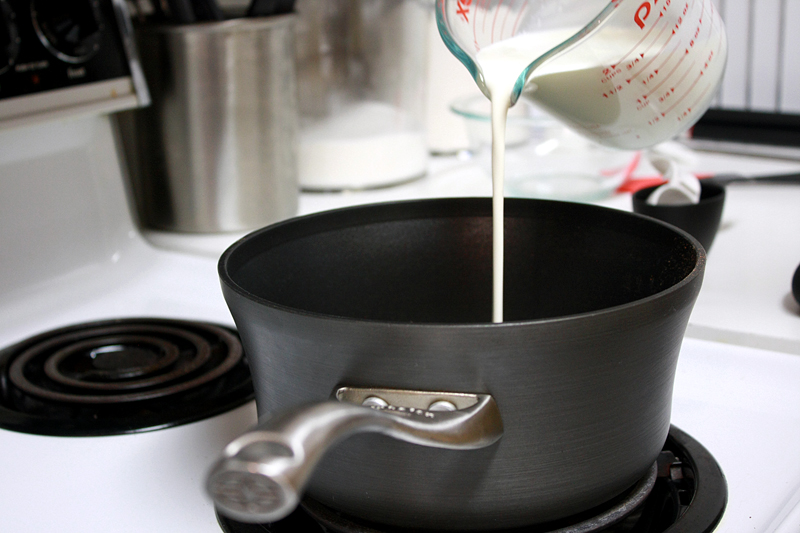
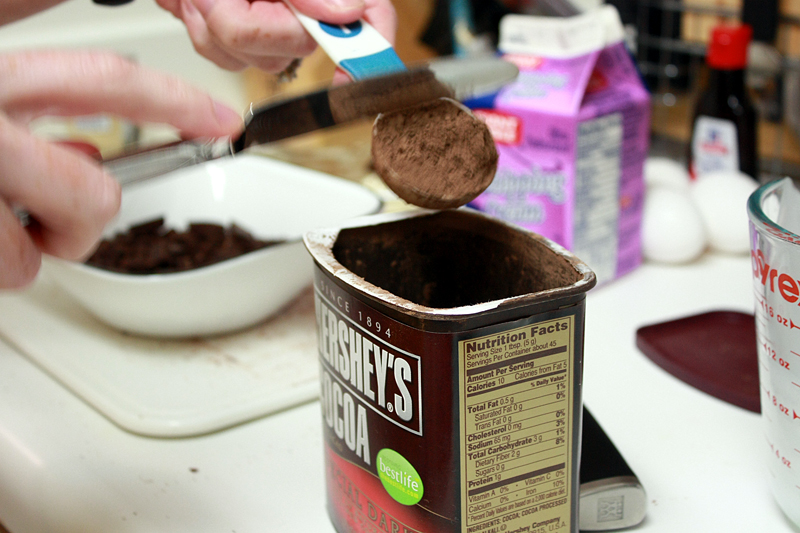
Whisk it all together
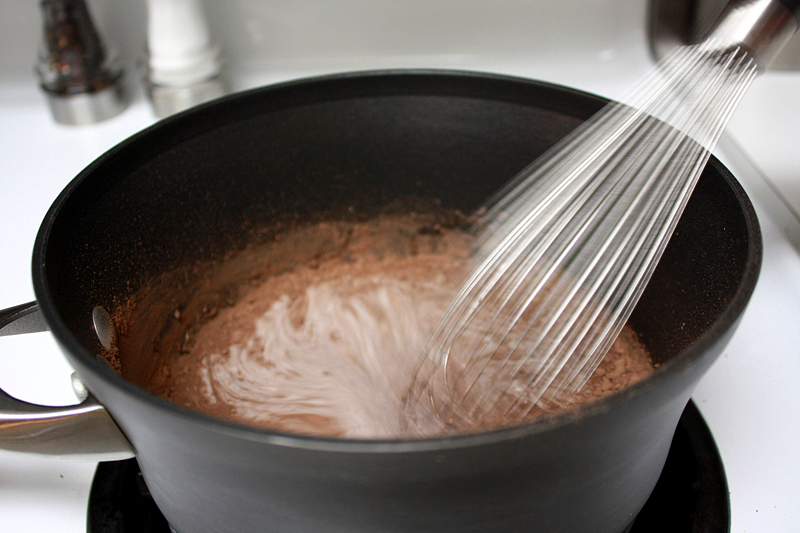
Bring to a boil, then reduce the heat and simmer at a low boil for 30 seconds. Don't stop that whisking!
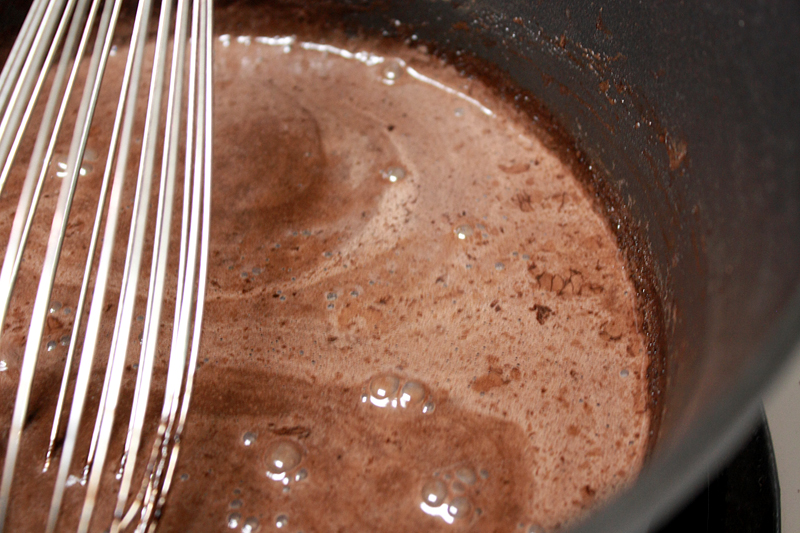
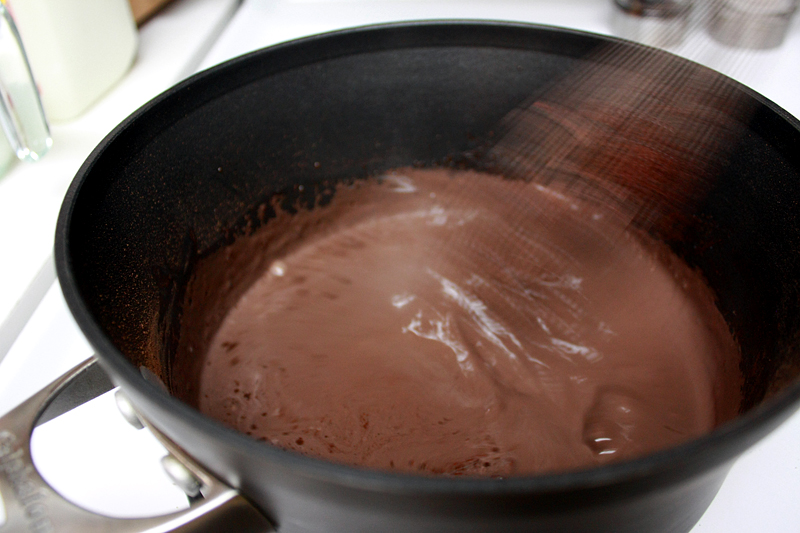
The cream and cocoa at a low boil
The cream and cocoa at a low boil
Get that bad boy off the heat and add in the chopped chocolate.
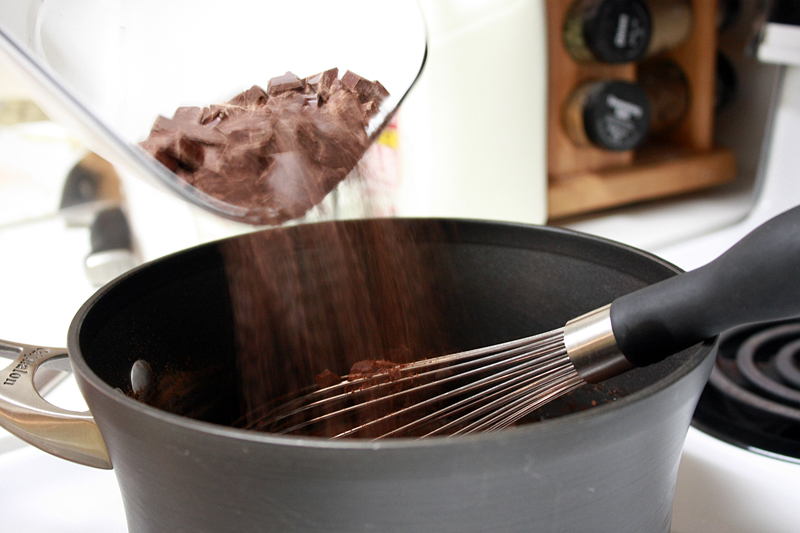
Keep stirring until it looks luscious and smooth.
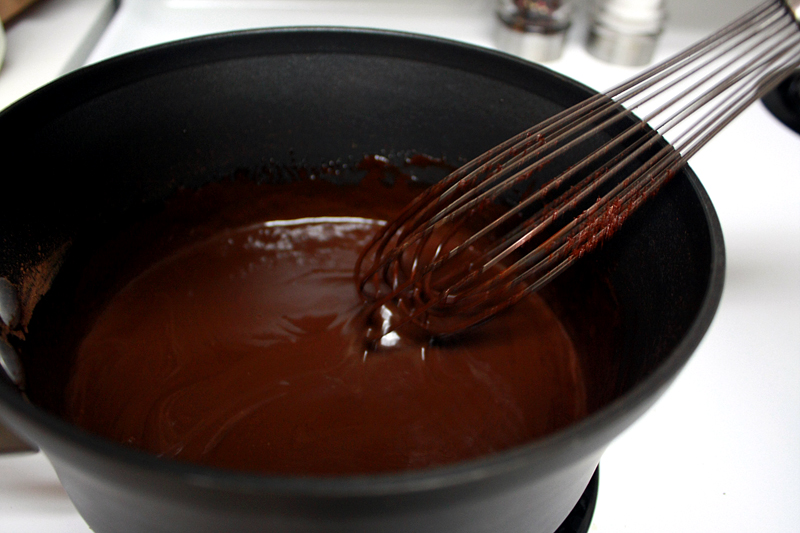
I think I might just drink this now.
I think I might just drink this now.
Add in the remaining cream. (Keep stirring!)
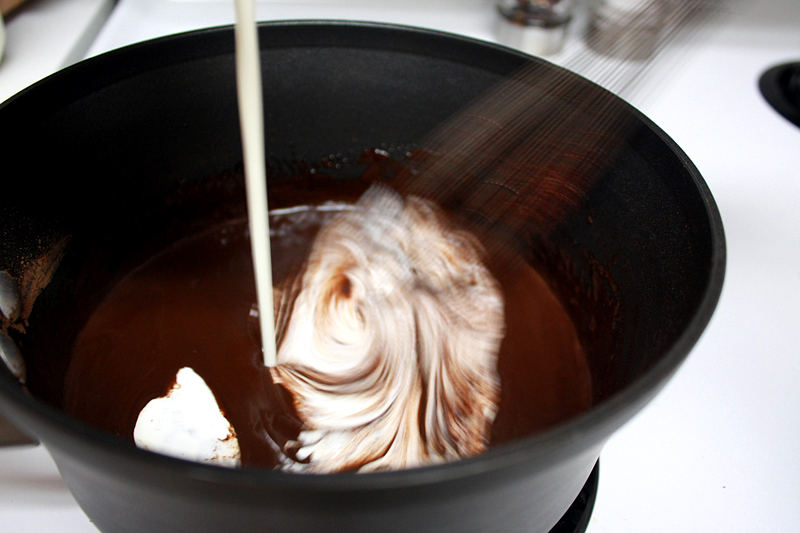
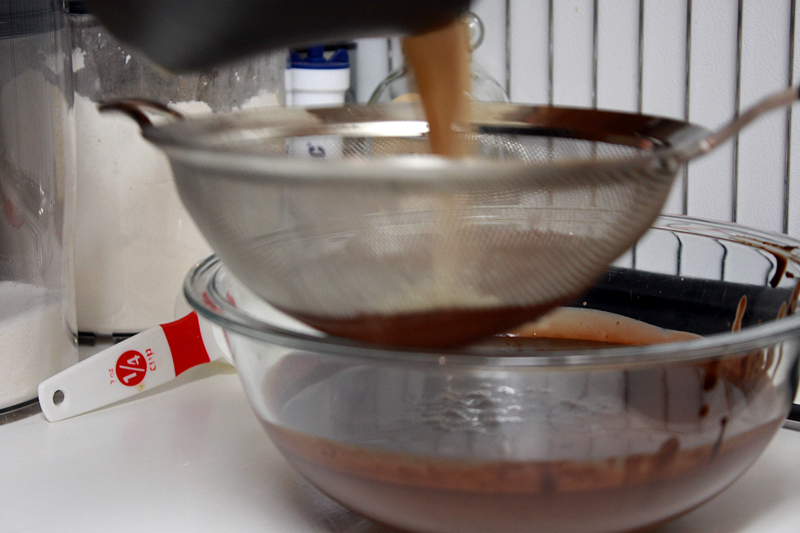
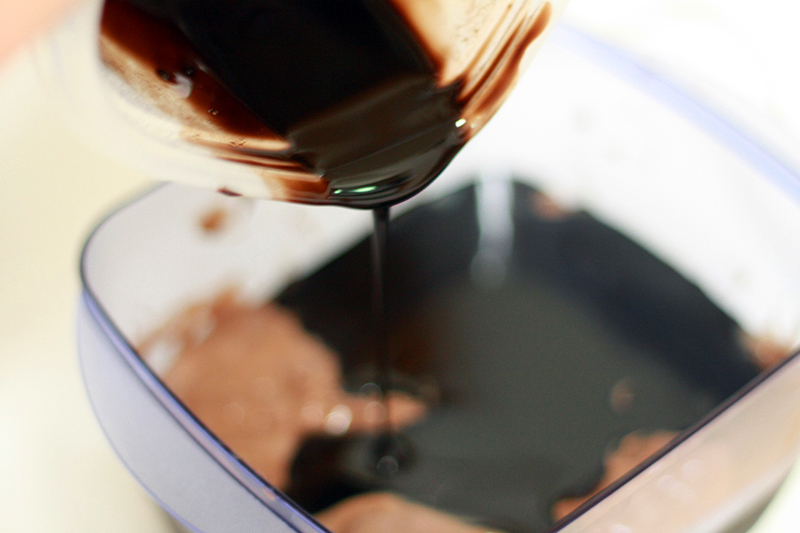
Now transfer this chocolatey goodness to a large bowl, scraping the saucepan as thoroughly as possible. Then set a mesh strainer on top of the bowl.
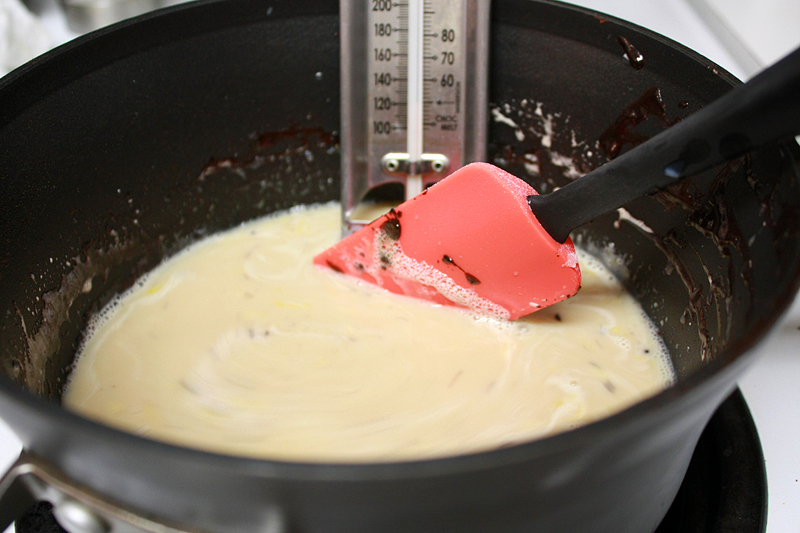
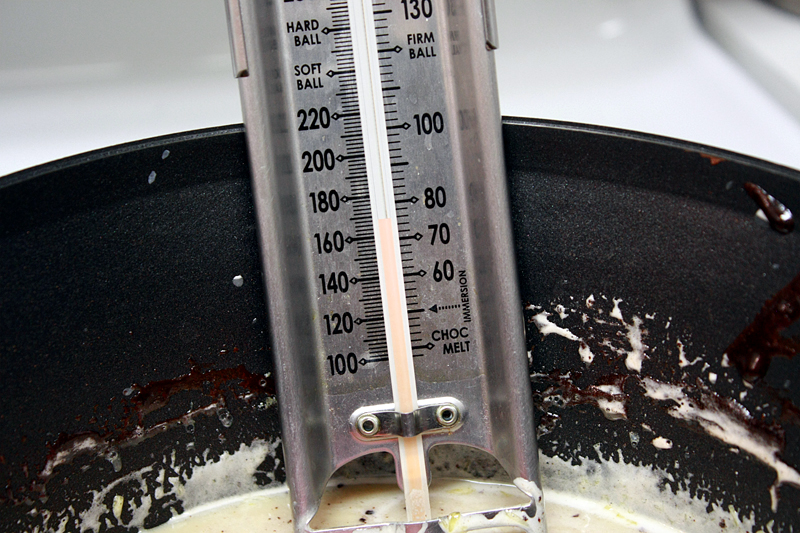
In the same saucepan, warm the milk, sugar, and salt. Using a candy thermometer for this stage is also a good idea.

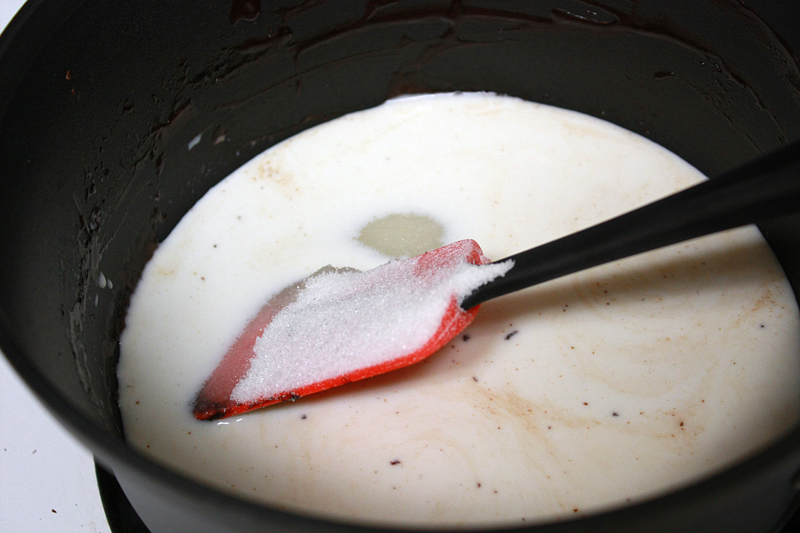
It's typically a good idea to dump your ingredients into the saucepan, not all over your spatula. Do as I say, not as I do.
It's typically a good idea to dump your ingredients into the saucepan, not all over your spatula. Do as I say, not as I do.
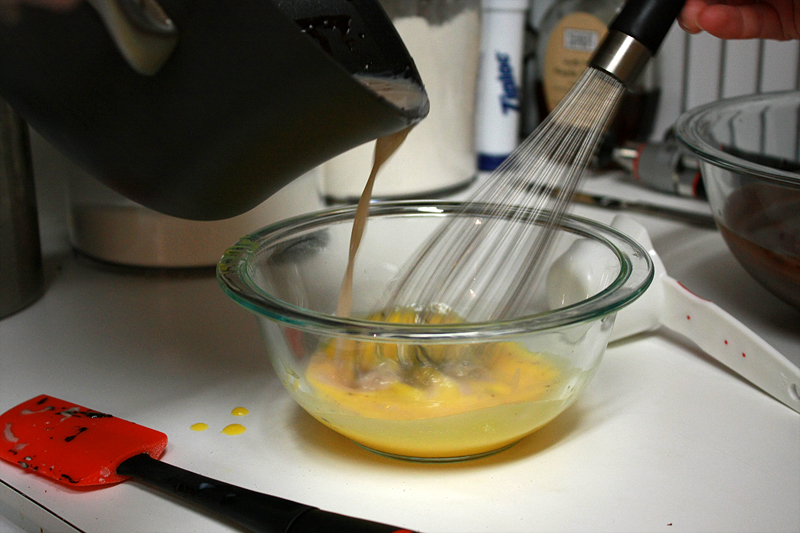
Remember those egg yolks? It's time to put them to good use. Slowly, slowly add your milk mixture into the bowl of egg yolks. Whisk! Whisk! Whisk! We don't want scrambled eggs! (This is also referred to as tempering the eggs.)
Once everybody is in the bowl, move the party back to the saucepan.
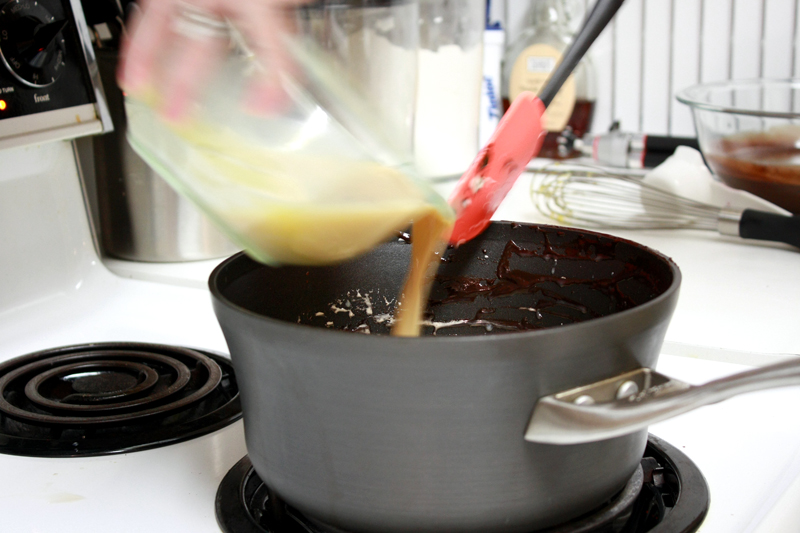
And surprise! Guess what you get to do? Keep stirring!
Bring the custard to 170 degrees F, or until the mixture thickens and coats the spatula.
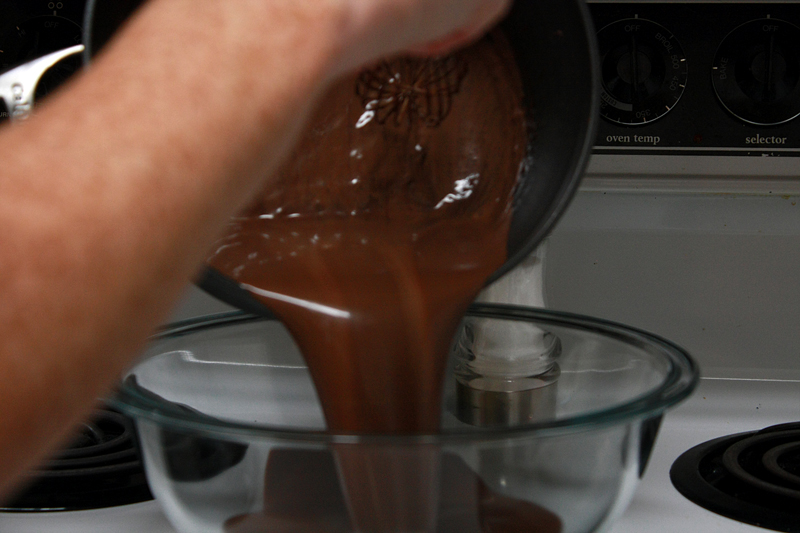
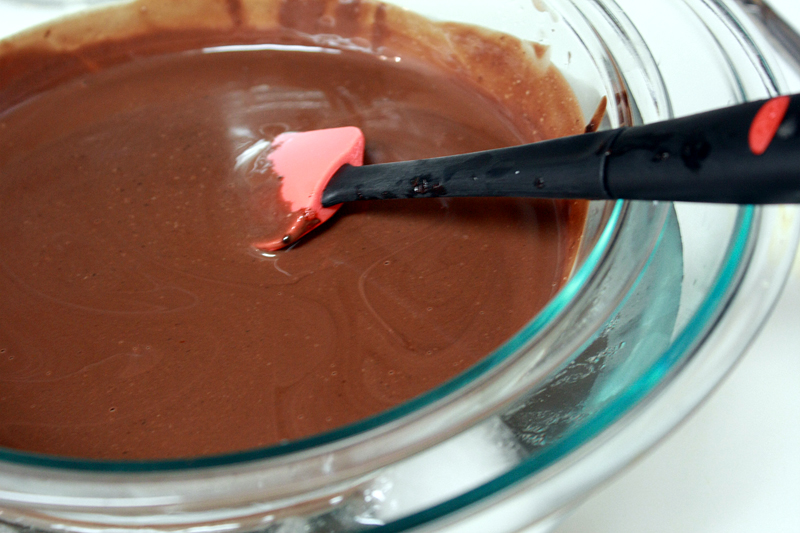
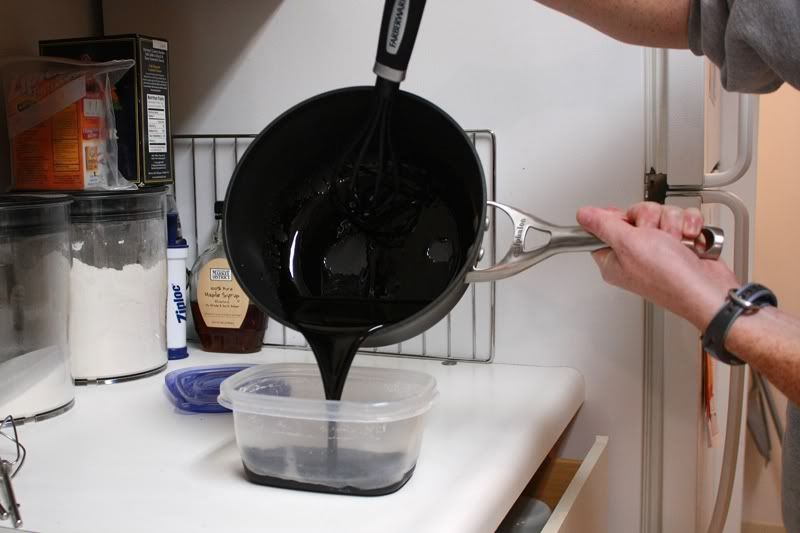
Wondering what that strainer was for? Why for straining out the little bits of cooked egg of course! Pour your custard (through the strainer) into the bowl with the cream and chocolate mixture. Place the bowl into a larger one with cold water and ice (ice bath). And keep on stirrin' until cool.
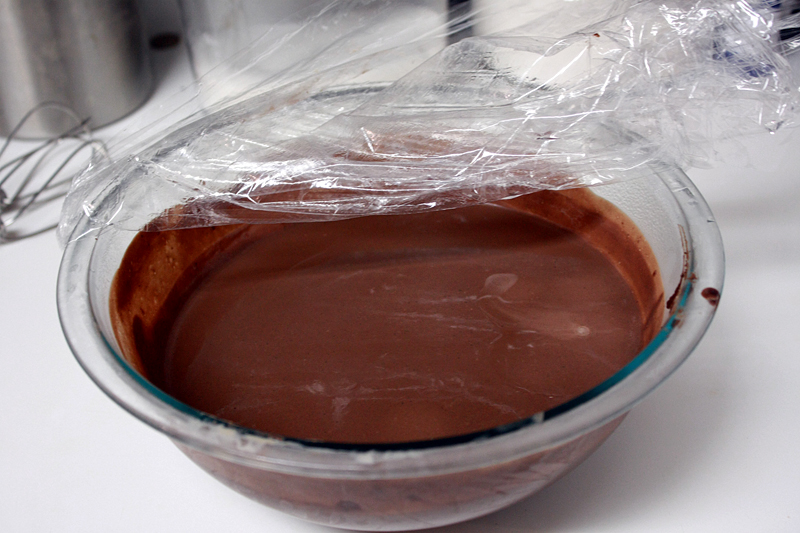
Okay, I can't lie. I cheated and didn't stir it the entire time. Because it takes a while for this to chill in the bowl, and I had other things to do. It survived and was fine. (Although I did stir it occasionally, so don't just neglect this guy.) Cover and place the bowl in the fridge for 4-24 hours. Make it easy on yourself and just keep it in there overnight.
Now for the fun babysitting part!
Bring your bowl of chocolate out of the fridge. Strongly consider eating it right then and there. But stop yourself. I promise it gets even better.
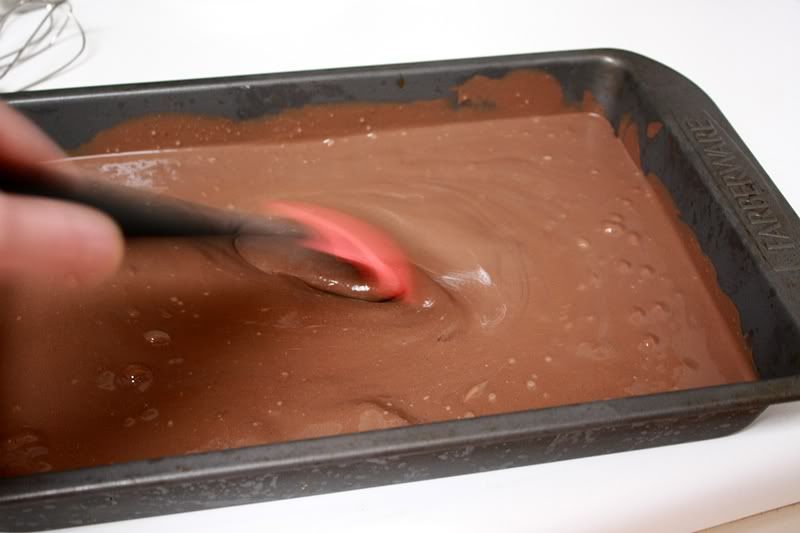
Pour the custard into a deep baking dish, something that can hold up in the freezer.
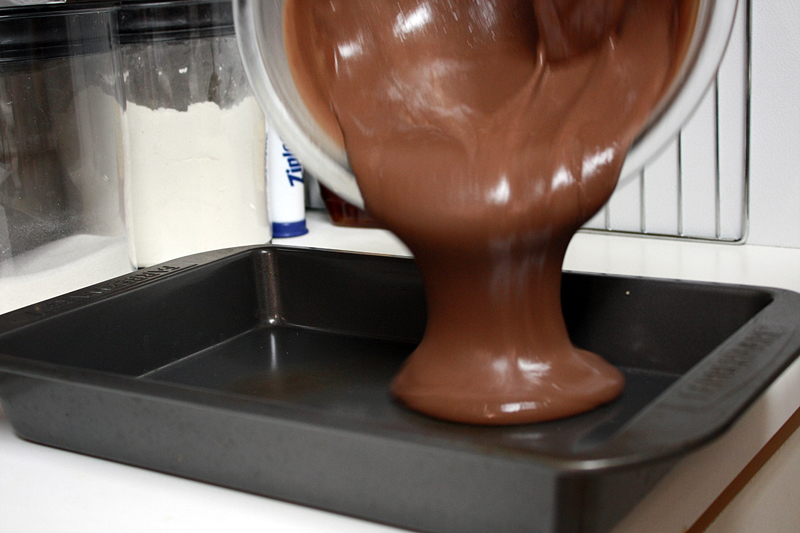
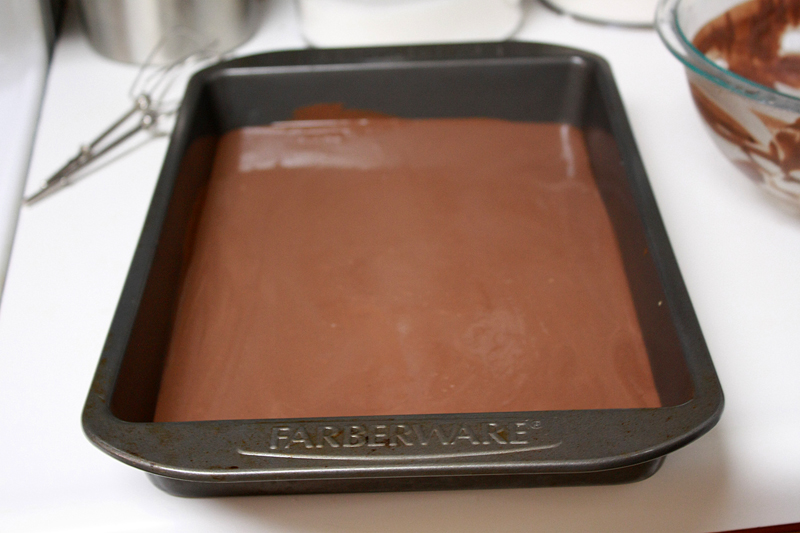
And into the freezer we go.
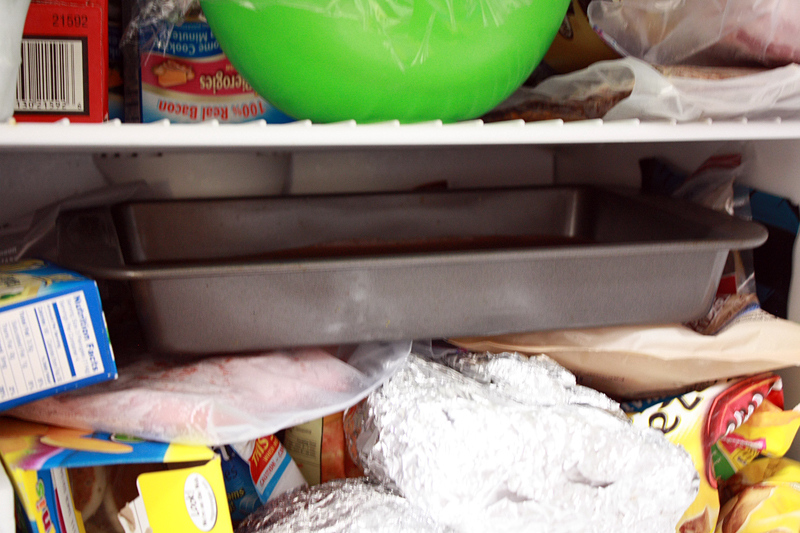
After 45 minutes, give it a little peek and poke. As it starts to freeze near the edges, remove it from the freezer (no, not time to eat yet) and stir it vigorously with a spatula or whisk. Make sure you break up any clumps and frozen parts. Then back in the freezer it goes.
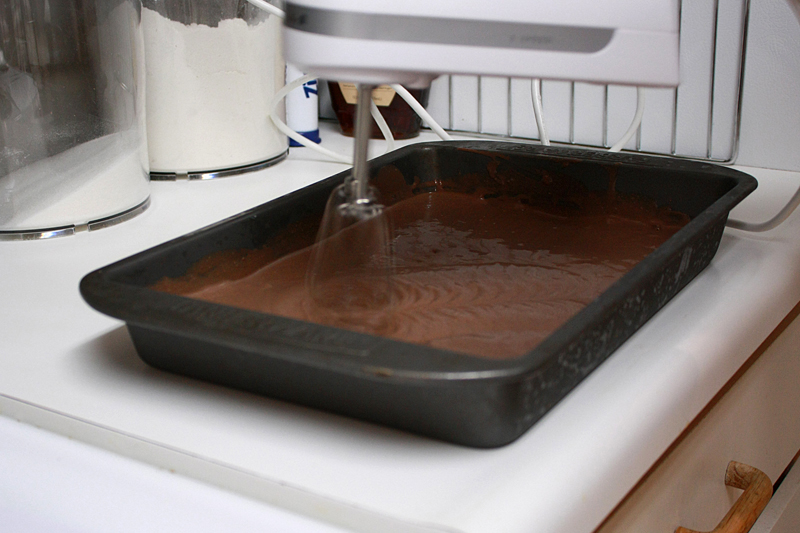
Dust off your hand mixer, your arm finally gets a rest from all this stirring and whisking. Every 30 minutes for the next 2-3 hours, pull out the mixture and give it a good whirl with the mixer. Make sure to break up any frozen sections or clumps. (You can also use a spatula or whisk for this part too if you don't have a hand mixer.)
After 30 minutes
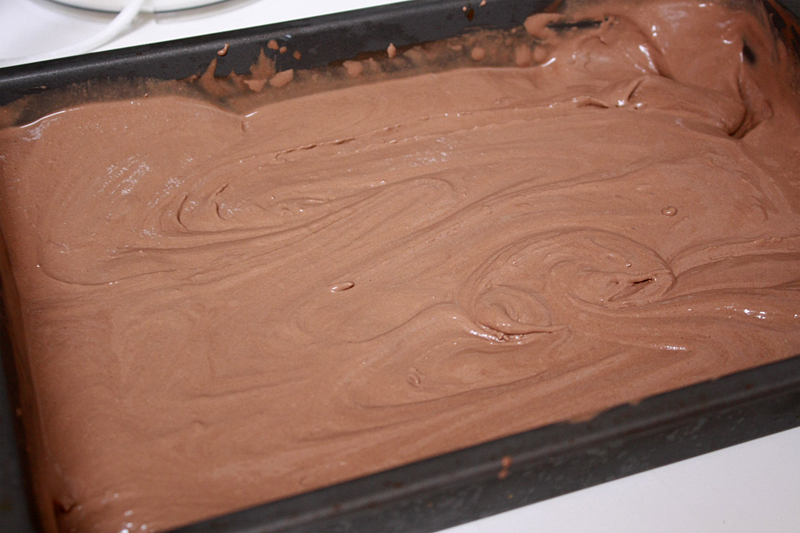
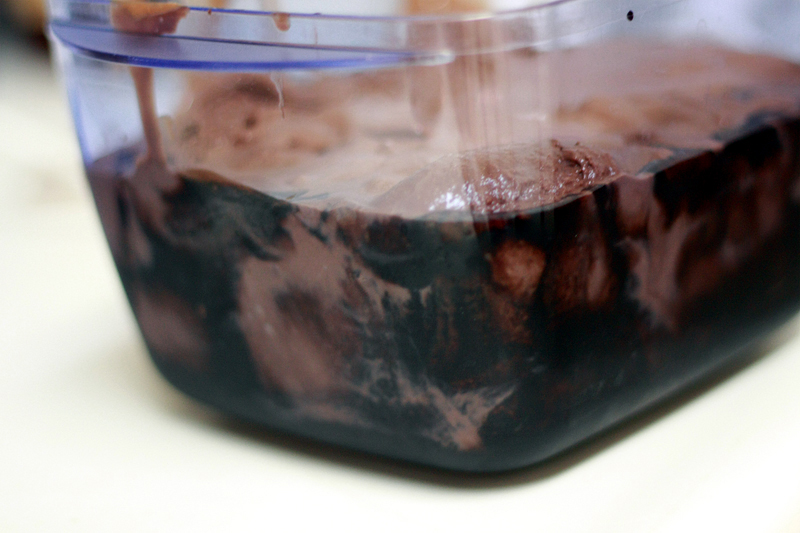
After 1 hour - it's starting to firm up!
After 1 1/2 hours
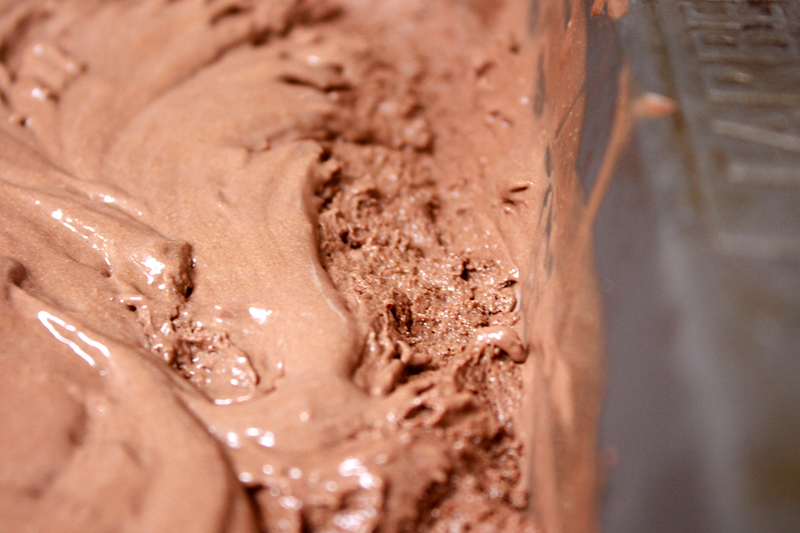
2 hours in - it's SO CLOSE!!!

2 1/2 hours -- and done! Well, kind of.
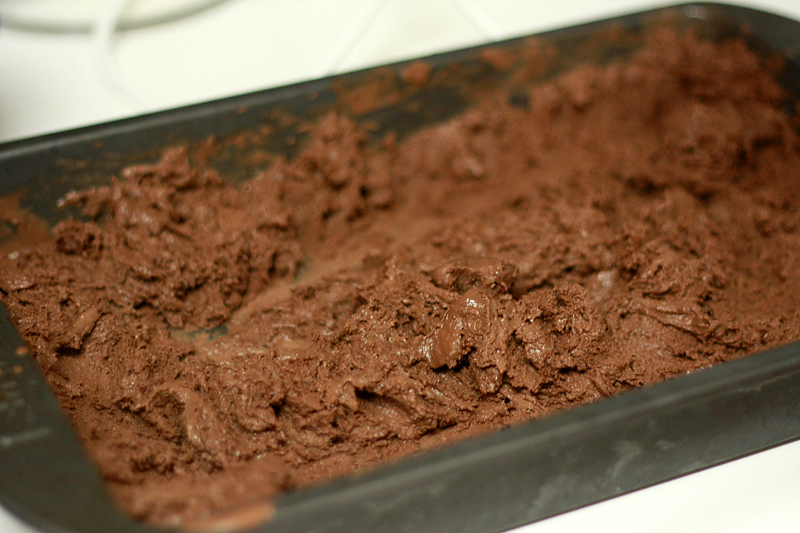
You have now reached the stage that is the equivalent of when the ice cream comes out of the ice cream machine -- soft serve. Give yourself a big pat on the back.
After 30 minutes
After 1 hour - it's starting to firm up!
After 1 1/2 hours
2 hours in - it's SO CLOSE!!!
2 1/2 hours -- and done! Well, kind of.
You have now reached the stage that is the equivalent of when the ice cream comes out of the ice cream machine -- soft serve. Give yourself a big pat on the back.
Now, in the meantime of all this, we need to make our Fudge Ripple. The best time to make it is right after you cook your custard, so it can have many many many hours to chill and firm up in the fridge. I made it right after I put the custard in the freezer the first time, and it was still pretty soft by the time I needed to use it. Either way, it still works.
It's actually super quick and easy to make. So there's really no excuse not to. I mean, it's only going to make this ice cream better.
Gather all your ingredients again.
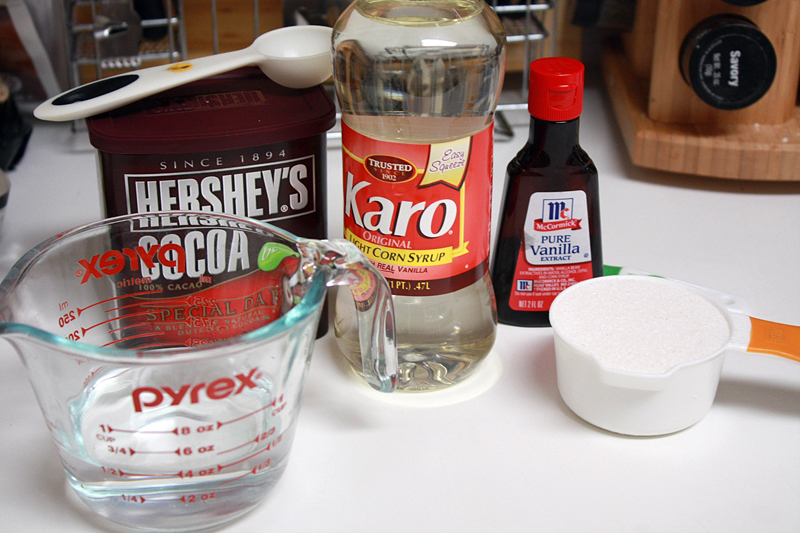
1/2 cup sugar
1/3 cup light corn syrup (not dark)
1/2 cup water
6 tablespoons unsweetened Dutch-process cocoa powder
1/2 teaspoon vanilla extract
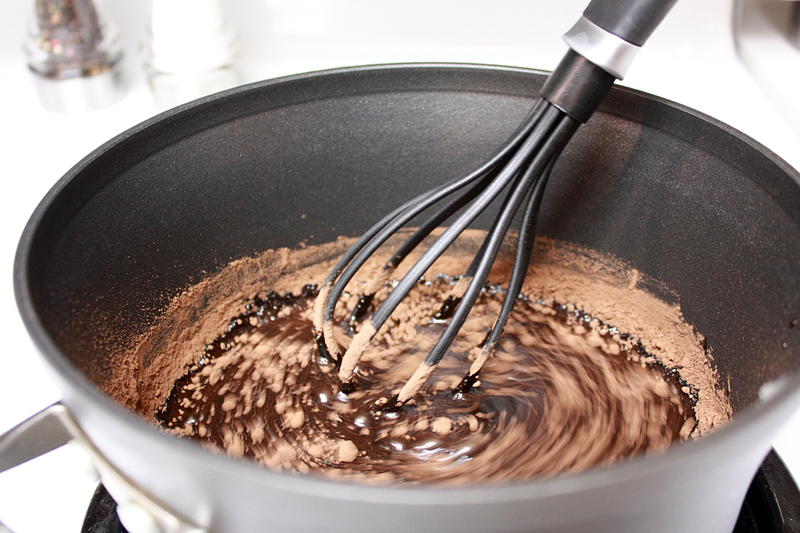
And everybody except the vanilla goes in a medium saucepan to play. Heat over medium heat, and once again we are whisking constantly, until the mixture begins to bubble at the edges.
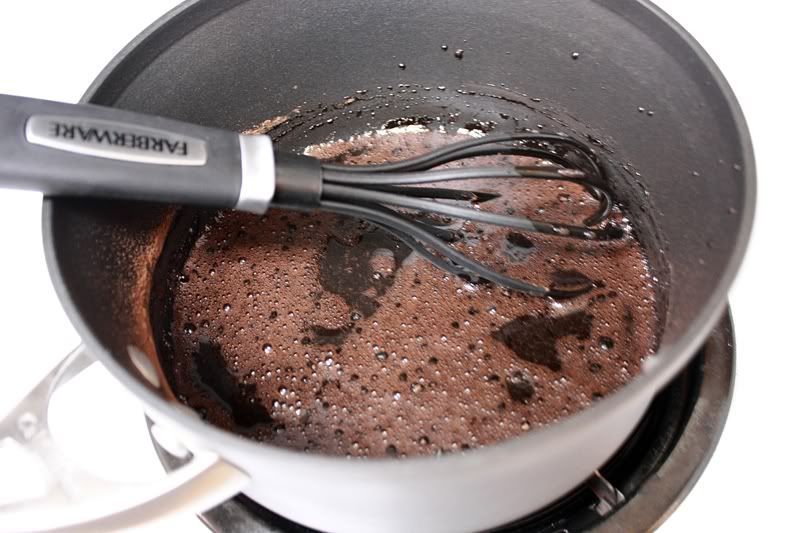
Keep whisking until the mixture comes to a low boil, then cook for 1 minute (don't stop that whisking!). Remove from heat, stir in vanilla, then allow to cool.
Once cool, pour into a bowl or other container (big enough to fit a cup) and chill in the refrigerator.
Now back to our ice cream. It was getting lonely, and I am getting hungry. Hold off! Just a little bit more!
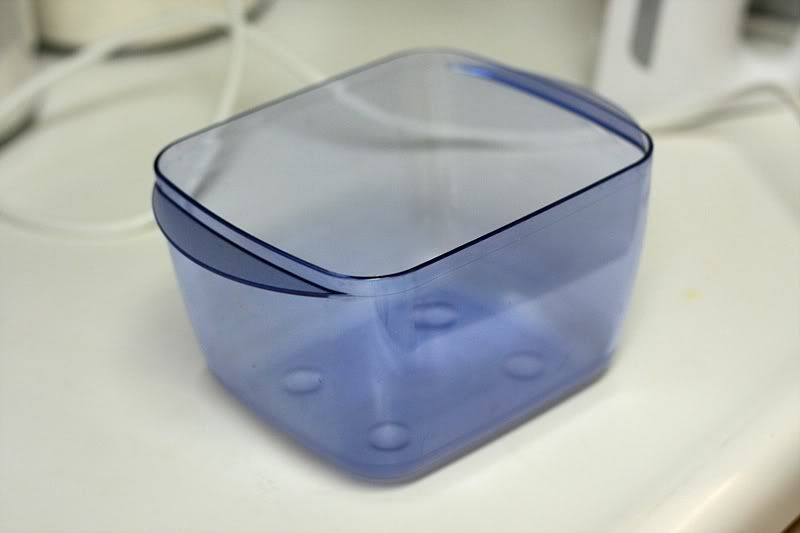
Rummage up a freeze-able container that can hold a bit over a quart.
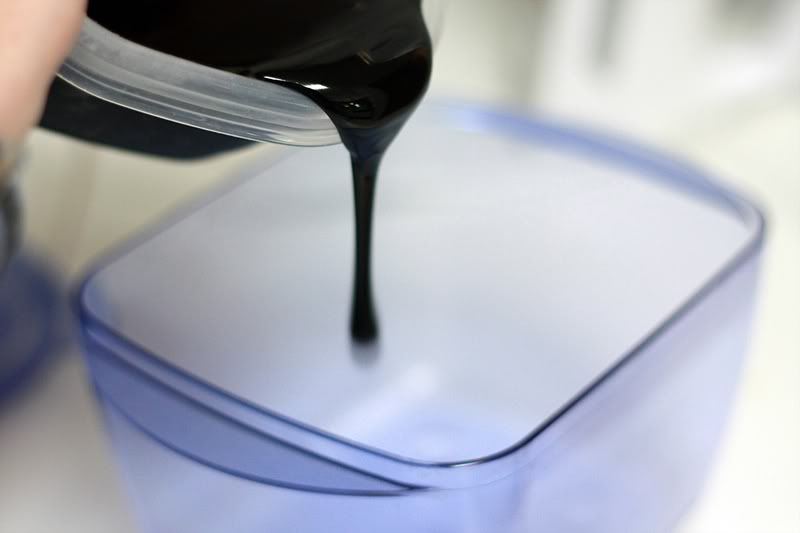
First start with a layer of that ooey-gooey Fudge Ripple.
Followed by a layer of the chocolate ice cream.
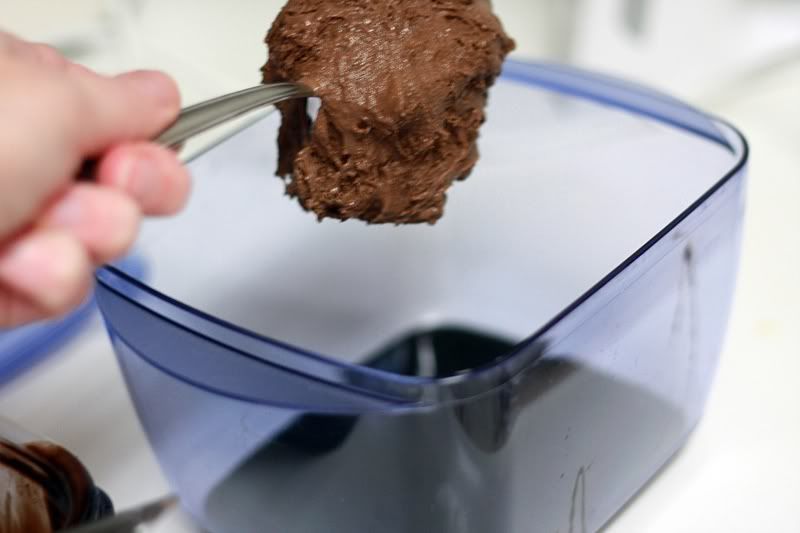
Repeat.
I'm just not sure I handle this deliciousness. Oh wait, silly me. Of course I can.
If you are able to hold out just a bit longer, place your ice cream in the freezer to harden for a bit. I can't tell you how long to let it harden, as I had to leave for class and then a dinner date with friends. But seven hours sure did the trick for me!

Let me just say that I made a beeline for the freezer as soon as I walked in the door. And was not disappointed. I think I might have just died and went to heaven. But then came back because I wanted more ice cream. It was just so rich, and chocolatey, and dense and believe it or not smooth -- even without a fancy-pants machine. Adam said it was the best chocolate ice cream he's ever had. Which is quite impressive. And I kind of tend to agree with him. In a very unbiased way.
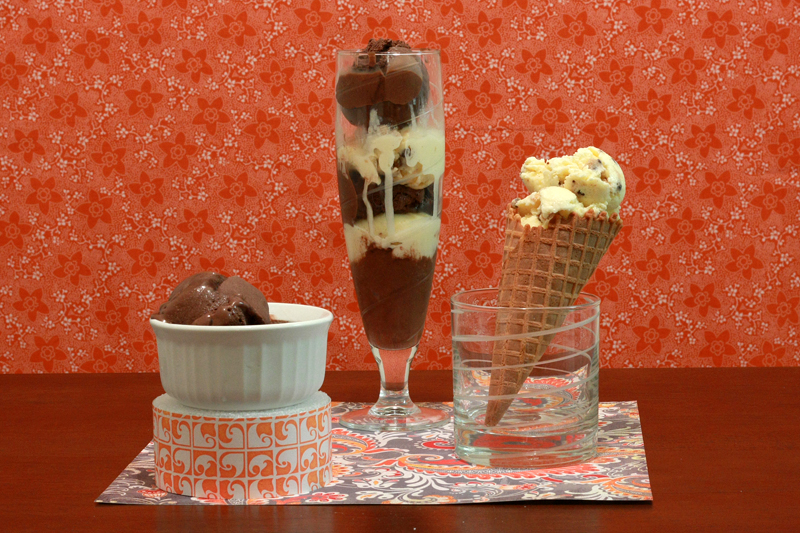
Wait a second. What's this white ice cream you see? That would be chocolate chip cookie dough. But that is for another day. :) I'm such a tease.
But seriously. This ice cream is amazing. Even if it's a little needy, and you have to babysit it. Totally.worth.it. I'm not really sure you can beat it... unless... there's bacon involved.
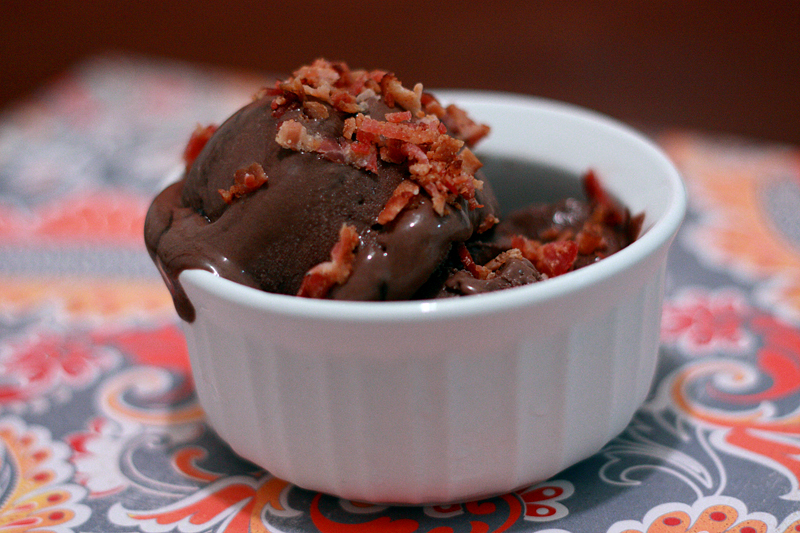
That's right. I went there.
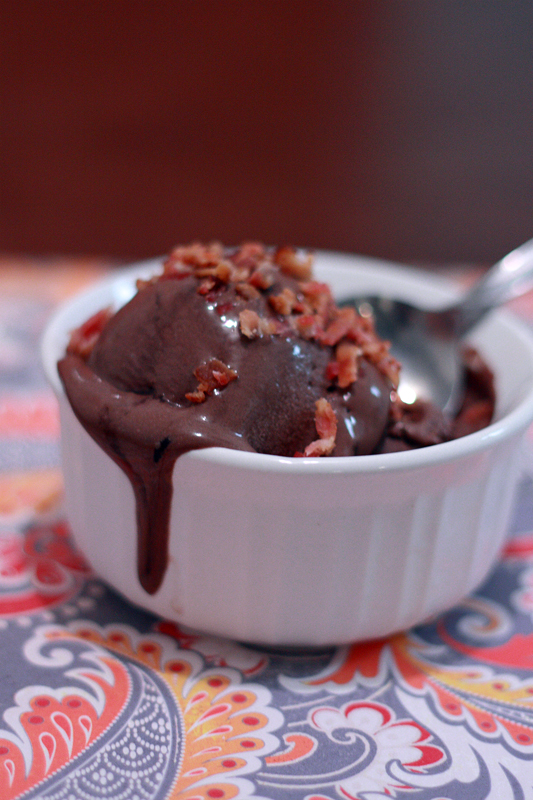
And wow. There are just no words. Well, maybe A.mazing. Or awesome. Or crazy-good. Okay, well that's two words, but you get the idea.
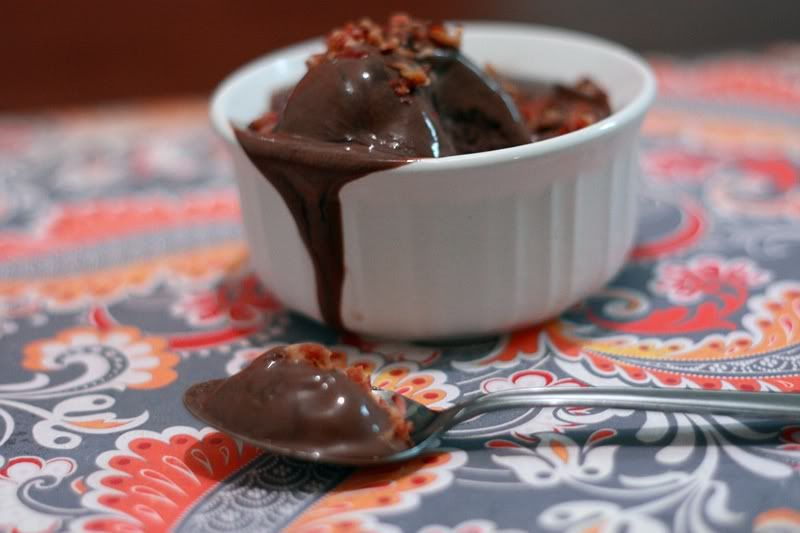
Can I go swimming in ice cream? No? That's disappointing. Guess I'll just have to eat it instead. Darn.
Makes: 8 (1/2-cup) servings


| Nutrition Facts | |
| Amount per serving | |
| Calories 413 | Calories from fat 189 |
| % Daily Value | |
| Total Fat 21.0g | 32% |
| Saturated Fat 12.1g | 61% |
| Cholesterol 175mg | 58% |
| Sodium 52mg | 2% |
| Total Carbs 58.2g | 19% |
| Dietary Fiber 2.9g | 11% |
| Sugars 46.1g | |
| Protein 5.1g | |
| Vitamin A 13% | Vitamin C 0% |
| Calcium 8% | Iron 10% |


Love your blog title! Congrats on Round 4 -- let's hope we both advance to Round 5!
ReplyDeleteLooks yummy. I have a machine, luckily. I'm too lazy otherwise!
ReplyDeletegreat job on making ice cream without a machine! it looks like the extra work was well worth it. chocolate was a wise choice. ;) best of luck!
ReplyDeleteYou have made me want ice cream for breakfast! I would have never thought of Bacon on ice cream but hey, what's not to love. Good luck with Round 5! Your Dad and Mom are so proud of you!!
ReplyDeleteI've always been to scared to make ice cream without the machine, and too scared to buy one for fear of adding even MORE pounds. This is perfect, thank you!
ReplyDeleteOkay, as a big granita-maker and sadly sans an ice cream maker, I don't know why it never occurred to me that I could make real ice cream! This looks fabulous! Well done, and I hope we both make it to Round 5!
ReplyDeleteYou are too cute! I just started following your blog right before the challenge, and I think you are doing wonderfully! Keep up the amazing recipes and entertaining narration :)
ReplyDeletehow decadent! and i am definitively ear-marking this one since I do not own an ice-cream machine. MMM.
ReplyDeleteI love you, seriously. I don't have an ice cream machine and do you know how badly I want homemade ice cream?! And the fact that you used the words ooegy gooey, well you just melted my heart. :) I voted for you already!!!
ReplyDeleteYour writing, pictures, everything was just incredible. It was easy to follow and something I feel like I could do.
wow! this is heavenly!
ReplyDeleteYou´ve got my vote!
Oh my oh my oh my... I kind of want to bathe in that!
ReplyDeleteFantastic tutorial and Round 4 entry! I really enjoyed seeing how ice cream could be made without a machine. You have my vote for sure! :)
ReplyDeleteyuummmmmmmmmmmmmm......just loved the entire post sooo much....i wish i cud vote again and again and again for u =) Gud luck!
ReplyDeleteWow! I am so ready for some ice cream! Makes me want to run down the ice cream truck! (Don't think I have the patience to wait for it)
ReplyDeleteMmm, yummy!! This looks so rich and creamy! I love that you made it without an ice cream maker!
ReplyDeleteWho knew this was possible. If it weren't for the pics I never would have believed you. GREG
ReplyDeleteYOU SOLD ME WHEN I SAW CHOCOLATE, and now at the end of this beautiful photo tutorial i am drooling on my keyboard. wow! when i drool it means the food looks sinful and hard to resist! great job and hope you win this challenge ! voted
ReplyDeleteGreat job. I have always wondered how to do this, and you've explained it so well! Love your photos...you've got my vote :)
ReplyDeleteOh my, sounds decadent!
ReplyDeleteIce Cream & Chocolate?!! You chose my best ever, I LOVE both of them so much, good recipe & wish you good luck :)
ReplyDeleteI have a machine, but if I didn't I sure would appreciated this post, so it's going to get one of my votes! Nice work!
ReplyDeleteWhat a great post! I don't have an ice cream maker, either, so I am so excited that I can make some awesome ice cream this way!
ReplyDeleteYou've got my vote...good luck!
Great tutorial! We actually made ice cream in my high school chemistry class - I think the lesson was on freezing point elevation...
ReplyDeleteI sent a little red heart your way - Good luck!
Great idea! A practical, mouthwatering, useful post. I'm going to try this. Good luck moving forward in the competition! (VOTE!)
ReplyDeletei am so spoiled to my ice cream maker, it truly is an art to it by hand!!
ReplyDeleteI loved this post. Funny AND chocolate-bacon ice cream = total win.
ReplyDeleteI really want to make ice cream at home, but don't want to invest in a maker (plus, I don't think I have the freezer space for a big thing anyway)--so, yay for you! You helped me!
I love, love, love this! I don't have a machine and am always so jealous of all the ice cream I see being made. I don't mind the extra work at all - looks completely delicious!
ReplyDeleteWhoa, I didn't even know it's possible to make ice cream without an ice cream maker! Thanks for teaching me about this and good luck this round!
ReplyDeleteI've been contemplating buying an ice cream machine for the past two summers and each time I say no partly for lack of space to store and that it would be way to tempting !!
ReplyDeleteI've also seen David's recipe but after seeing your pics I know have an idea of what type of consistency I need to look out for. Will be trying out this very soon :) Good Luck and can't wait to see what you have planned for round 5.
How incredibly decadent! Delicious! Voted of course!
ReplyDeleteWow...great job loved the step by step pictures. The ice cream looks amazing. Good luck in round 4 you sure got my vote.
ReplyDeleteThank you so much for doing this tutorial. I don't have an ice cream machine, so I've always wondered how it could be done by hand, but no one ever shows you how. Thanks to you, I can now go and make ice cream. I just hope it looks as delicious as yours. You've got yourself a vote.
ReplyDeleteI've heard of bacon and chocolate..but wow. I've never seen it! Great tutorial on ice cream :-) You have my vote :-)
ReplyDeleteI read this post salivating at machine-less ice cream. Then I got to the end and at the sight of bacon on top jumped out of my chair and shouted "OHHHHHH" like it just won a freestyle rap battle. Thus, I bestow unto you, one vote. Good luck this week!
ReplyDeleteLick My Spoon
Yum! What a brilliant tutorial. And the finished ice cream sounds amazing. And pretty simple to make without a machine. Who knew? I voted for you!
ReplyDeleteGood luck! Hope to see us both in round 5 !!! =)
Awesome step by step! A lot of people will appreciate this! Best wishes!
ReplyDeleteOMG, this looked so labor intensive! Cheers for effort and it looks scrumptious! Just voted....Cheers!
ReplyDeleteI know how to do lots of things but this is a new one for me and I appreciate it cause i don't have room for an ice cream machine! Love it. Voted. So glad you made it through so I have someone to cheer for now that I'm not cheering for myself!
ReplyDeleteI too, do not possess an ice cream machine (boo hoo) and have used the David Lebovitz method for making ice cream without, so I *know* how good this stuff is!
ReplyDeleteI made this over the weekend for my second wedding anniversary, and all I have to say is WOW. My husband agreed that this ice cream is on par with our favorite frozen custard place. I think next time we will only make half of the fudge ripple because it kind of overwhelmed the ice cream, but nevertheless this recipe is AMAZING. Thanks so much for the tutorial.
ReplyDeleteOh wow. My ice cream maker attachment to my kitchenaid stand mixer (and the mixer) are in storage right now, probably the things I miss most - SO glad to find such an amazing recipe for ice cream without an ice cream maker!! Thanks!
ReplyDelete